
Selecting the right size and wattage for your ceiling lighting is the difference between a comfortable, well-lit home and a space that feels either like a gloomy cave or a sterile operating room. To get this balance right, you must look beyond the physical dimensions of the fixture and calculate your room’s specific light requirements based on its floor area, ceiling height, and primary activities.
For a standard bedroom in the Philippines measuring around 10 to 12 square meters, a total light output of 1,200 to 1,800 lumens is generally ideal. This requirement can be met by installing a single 15W to 18W LED panel light or by distributing the load across multiple 6W to 9W recessed downlights. Larger spaces, such as open-plan living rooms, will naturally require higher wattage ranges, larger physical panels, or a strategic layout of multiple smaller fixtures to ensure even coverage.
Understanding Lumens, Wattage, and Physical Size
To choose the best lighting setup, you must first separate the concepts of power consumption, light output, and physical fixture size. Historically, homeowners relied on wattage as a direct indicator of brightness because traditional incandescent and fluorescent bulbs had predictable, high power demands. Modern LED technology has decoupled these metrics, producing far more light while consuming a fraction of the energy.
Products mentioned in this guide
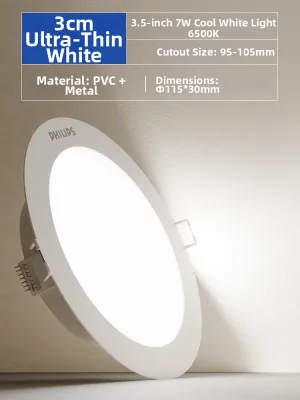
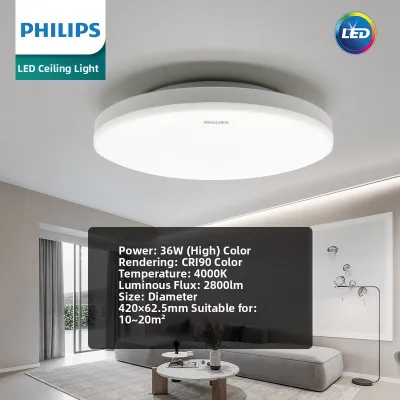
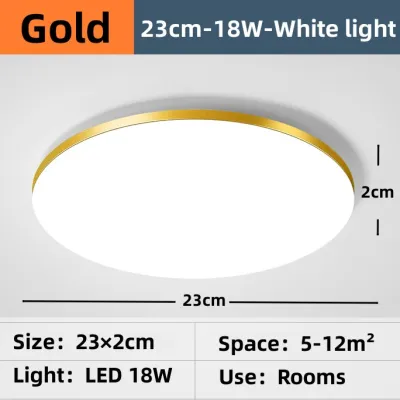
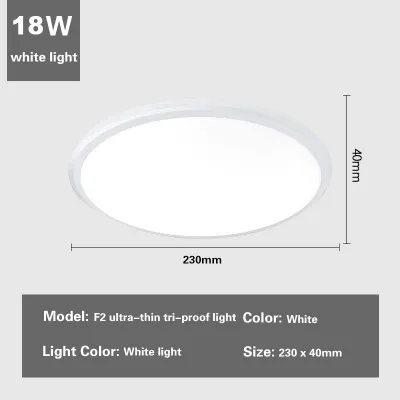
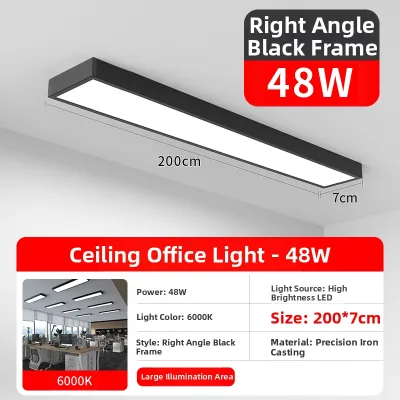
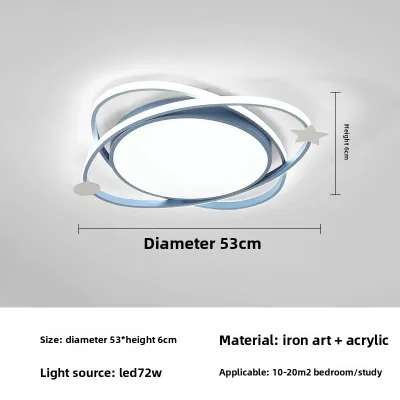
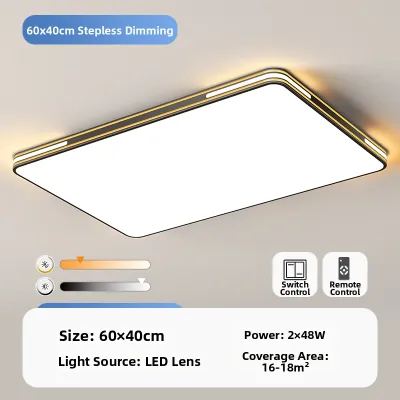
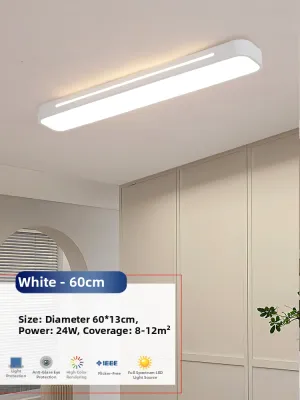
Prices are valid at publication and may change. Please refer to the product page for the latest price.
Lumens represent the total amount of visible light emitted by a source. When shopping for LED ceiling lights, this is the primary number you should look for to determine how bright a fixture actually is. Wattage, on the other hand, solely measures the electrical power the fixture consumes from your home’s 220V electrical grid.
Because LEDs are highly efficient, they have a high luminous efficacy, which is measured in lumens per watt. A modern LED fixture typically produces between 80 and 100 lumens for every single watt of electricity it consumes. This means a 12W LED panel can easily replace an old 24W compact fluorescent lamp (CFL) or a 75W incandescent bulb, dramatically lowering your monthly electricity bill while maintaining the same level of brightness.
Lux is another critical metric, representing lumens per square meter. While lumens tell you how much light leaves the fixture, lux tells you how bright a specific surface will be once that light travels across the room. This distinction is vital when planning your layout, as the same fixture will produce a lower lux level on the floor if it is mounted on a very high ceiling.
Finally, the physical size of an LED panel—such as a compact 15×15 cm downlight, a standard 30×30 cm square, or a large 60×60 cm commercial-grade panel—does not dictate its total brightness. High-powered LED chips can be packed into small housings, just as low-wattage chips can be spread across a large panel. Instead, the physical footprint of the fixture dictates how the light is distributed across the room, how effectively glare is minimized, and how visually balanced the fixture looks on your ceiling.
How to Calculate the Right Wattage and Size for Your Space
Determining your lighting needs does not have to be a guessing game. By following a simple three-step calculation, you can establish a precise blueprint for your room’s wattage, lumen targets, and fixture sizes.

Step 1: Measure the Room and Determine the Area
Begin by calculating the total floor area of your room in square meters. Use a tape measure to find the length and width of the space in meters, then multiply those two figures together. For example, a room that is 4 meters long and 3.5 meters wide has a total area of 14 square meters.
If your room has an irregular shape, such as an L-shaped living-dining area or a space with deep alcoves, do not try to calculate it as a single unit. Instead, divide the floor plan into smaller, manageable rectangles. Calculate the area of each individual rectangle separately, and then add those figures together to find the total square meterage.
Additionally, identify any specific zones within the room that will require dedicated focus, such as a study desk, a kitchen island, or a vanity mirror. These areas will need localized lighting calculations that sit on top of your general ambient lighting plan.
Step 2: Identify the Required Brightness (Lumens per Square Meter)
Once you know the size of your room, you must determine how much light intensity (lux) is required based on how the space is used. Different activities require different levels of visual clarity to prevent eye strain and maintain comfort.
As a general baseline, standard residential spaces can be categorized by their functional light requirements:
- Ambient living areas and bedrooms: 100 to 150 lux
- Kitchens, home offices, and bathrooms: 200 to 300 lux
- Task-specific zones (food prep, reading desks): 400 lux or more
To find the total lumens needed for your room, multiply your calculated square meterage by the target lux level. For a 14-square-meter bedroom requiring general ambient light (150 lux), the calculation is 14 multiplied by 150, which equals a target of 2,100 lumens.
Keep in mind that environmental factors can absorb or disperse light. If your room features dark paint, matte finishes, heavy wooden furniture, or ceilings higher than 2.7 meters, these surfaces will absorb more light. In such scenarios, you should increase your target lumen calculation by 20% to 30% to achieve the desired level of perceived brightness.
Step 3: Convert Lumens to LED Wattage and Select Panel Size
With your target lumen figure in hand, you can now translate this into specific product specifications. Check the packaging or product datasheets of the LED ceiling lights you are considering to find their rated lumen output and match them to your target.
If your target is 2,100 lumens, you can achieve this in several ways depending on your design preferences. You could install a single, large 24W LED panel that outputs approximately 2,100 lumens, or you could distribute the light more evenly by installing three 7W downlights (outputting roughly 700 lumens each) spaced evenly across the ceiling.
When selecting the physical size and shape of the fixtures, consider your ceiling type and structural grid. Square panels measuring 60×60 cm or rectangular panels measuring 30×120 cm are highly popular for drop ceilings or T-runner grids, as they drop directly into the framework. For plasterboard or concrete ceilings, round or square surface-mounted panels ranging from 15 cm to 30 cm offer a cleaner, more proportional look.
Dividing your total lumen requirement across multiple smaller fixtures is highly recommended for larger rooms. Relying on a single, high-wattage central fixture often results in harsh, blinding light directly underneath the panel while leaving the corners of the room in deep shadow.
Recommended LED Panel Sizes and Wattages by Room Type
Every room in a home serves a distinct purpose, meaning your choice of LED panel sizes and wattages should adapt to the specific demands of each environment.
Living Rooms and Open Areas
Living rooms are highly active, multi-functional spaces where families gather, watch television, and entertain guests. For a typical 20-square-meter living room, you will need a total light output of approximately 3,000 to 4,000 lumens to ensure the space feels bright and welcoming.
To cover this large area without creating harsh glare, consider using larger physical fixtures, such as 60×60 cm panels, or distributing the load across six to eight 6W recessed downlights. Keeping individual fixture wattages moderate (between 6W and 12W) helps maintain a comfortable atmosphere.
Layered lighting is essential in open-plan living areas. Instead of relying solely on your ceiling panels, supplement them with floor lamps, table lamps, or wall sconces. This allows you to turn off the bright overhead lights and switch to softer, warmer accent lighting when watching a movie or relaxing in the evening.
Bedrooms and Study Areas
Bedrooms require a balanced lighting scheme that supports both morning productivity and evening relaxation. A standard 12-square-meter bedroom typically requires a total of 1,200 to 1,800 lumens of light.
For standard bedroom layouts, smaller to medium-sized fixtures, such as circular 30×30 cm surface-mounted panels or a series of 9W downlights, work beautifully. These sizes provide adequate light without dominating the visual space of the ceiling.
Color temperature plays a critical role in how a room feels. For general bedroom lighting, select warm white (2700K to 3000K) fixtures to promote relaxation and prepare your body for sleep. For dedicated study desks or reading nooks, use a separate, localized desk lamp or a focused cool daylight (5000K to 6500K) fixture to enhance focus and reduce eye strain. Always position overhead ceiling lights away from the direct line of sight when you are lying in bed.
Kitchens, Bathrooms, and Hallways
Kitchens, bathrooms, and hallways are highly functional spaces that demand precise lighting choices to ensure safety and utility.
Kitchens require high-intensity task lighting, especially over countertops, sinks, and food preparation areas. A 10-square-meter kitchen should have at least 2,500 to 3,000 lumens of light. Opt for medium-sized, high-wattage panels (such as 18W to 24W) with wide beam angles to eliminate shadows while you work with sharp knives and hot stoves.
In bathrooms, high humidity levels caused by hot showers can easily damage standard electrical fixtures. You must check the Ingress Protection (IP) rating of any ceiling light installed in a damp environment. Look for fixtures with at least an IP44 rating (splash-proof) or an IP65 rating (water-jet proof) if the light is positioned directly over a shower enclosure to prevent moisture from corroding the internal circuitry.
Hallways are narrow, transitional spaces that do not require intense illumination. Instead of large panels, use small, low-wattage recessed downlights (such as 5W or 7W) spaced 1.5 to 2 meters apart. This layout provides safe navigation through the home without overwhelming the narrow corridor with excessive light.
Installation Clearances, Ceiling Heights, and Spatial Fit
Before purchasing your LED ceiling lights, you must evaluate the physical and structural limitations of your ceiling to ensure a safe, long-lasting installation.
There are three primary mounting methods for LED ceiling lights:
- Recessed: The fixture sits flush with the ceiling, with the body and driver hidden inside a hollow ceiling cavity.
- Surface-Mounted: The fixture is screwed directly onto the face of a solid ceiling, making it ideal for concrete slabs.
- Suspended: The fixture hangs from the ceiling via adjustable cables, which is common in high-ceilinged spaces or modern loft designs.
If you choose recessed LED panels, you must verify that your ceiling cavity has adequate depth. Most recessed fixtures require between 5 and 10 centimeters of clear space above the ceiling board. This clearance is not just for physical fit; it is crucial for heat dissipation. Even though LEDs do not get as hot as older bulbs, their electronic drivers still generate heat. If heat is trapped in a tight, unventilated ceiling cavity, it will degrade the driver’s capacitors, leading to premature failure or persistent flickering.
Ceiling height also directly affects how light behaves in a room. Standard residential ceilings in the Philippines are typically 2.4 to 2.7 meters high, which works perfectly with standard wide-angle (120-degree) LED panels. However, if your home features double-height ceilings or loft spaces higher than 3 meters, wide-angle light will disperse too much before reaching the floor. In these high-ceiling spaces, you must select fixtures with narrower beam angles (36 to 60 degrees) or higher wattages to project the light downward effectively.
Safety Boundary: Working with fixed electrical wiring poses significant safety risks. Always turn off the power at the main circuit breaker before attempting any installation, maintenance, or replacement of light fixtures. For hardwiring to 220V mains, cutting into solid concrete slabs, or modifying existing drop ceiling grids, always consult a licensed electrician. This ensures your installation complies with the Philippine Electrical Code (PEC) and uses certified products carrying the Philippine Standard (PS) mark or Import Commodity Clearance (ICC) sticker.
Common Sizing and Lighting Mistakes to Avoid
Avoiding common design and installation errors will save you time, money, and frustration during your home renovation.
- Relying Solely on Wattage: Purchasing a ceiling light based only on its wattage can lead to an under-lit room. Always check the rated lumen output on the product label, as a highly efficient 12W LED can easily outperform a poorly designed 18W LED in actual brightness.
- The Single Central Fixture Trap: Installing one massive, high-wattage panel in the center of a large room creates harsh, unflattering shadows in the corners and intense glare directly underneath. Distributing multiple smaller lights across the ceiling provides far more balanced, comfortable illumination.
- Ignoring Glare Ratings (UGR): Installing cheap LED panels without proper diffusion in home offices or study areas can cause severe eye strain. Look for fixtures with a Unified Glare Rating (UGR) of less than 19 for workspaces to protect your eyes during long hours of reading or computer work.
- Recessing into Solid Concrete: Buying recessed 60×60 cm panels for a solid concrete ceiling without a plan for installation is a costly mistake. Recessing into solid concrete requires extensive, structurally risky masonry work. For solid concrete ceilings, always choose surface-mount frames or suspended hanging kits.
Frequently Asked Questions (FAQ)
Can I use a 60×60 cm LED panel on a solid concrete ceiling?
You cannot recess a standard 60×60 cm LED panel directly into a solid concrete slab ceiling without performing extensive and potentially dangerous structural masonry work. To install a panel of this size safely on concrete, you must purchase a compatible surface-mount frame or use a suspended wire hanging kit. These accessories allow the slim panel to sit clean and flush against the concrete surface while safely housing the driver and wiring inside.
How many LED ceiling lights do I need for a 20-square-meter room?
For a standard 20-square-meter living room requiring approximately 3,000 lumens of ambient light, you can distribute the illumination evenly by using either two 15W LED panels (producing roughly 1,500 lumens each) or four 9W recessed downlights (producing roughly 800 lumens each). Spacing these fixtures evenly across the ceiling prevents dark corners and ensures balanced light coverage throughout the space.
Does the physical size of the LED panel affect its brightness?
The physical size of an LED panel does not determine its brightness; actual brightness is determined by the quality and quantity of the internal LED chips and their total lumen output. A 24W LED panel will emit the same amount of light whether it is housed in a compact 30×30 cm frame or a larger 60×60 cm frame. However, the larger panel will spread that light over a wider surface area, resulting in softer, more diffused illumination with fewer harsh shadows.

Community discussion
Share your experience or ask a question. Comments are reviewed before publication.