
Upgrading your home lighting often starts with modernizing your ceilings. In the Philippines, recessed downlights—locally known as pinlights—have become the standard for clean, minimalist interiors. Selecting a pinlight led ceiling fixture involves much more than picking a style that looks sleek on a store shelf or an online marketplace. If you ignore the underlying technical specifications, you risk ending up with dim rooms, mismatched ceiling holes, flickering lights, or even safety hazards in your ceiling cavity.
Achieving the perfect balance of illumination and safety requires matching the light’s output to the room’s function, ensuring a precise physical fit, and verifying electrical compatibility. By mastering a few key specifications, you can confidently choose fixtures that enhance your living spaces while keeping your energy bills and maintenance needs to a minimum.
Wattage vs. Lumens: Balancing Energy Use and Brightness in Your Pinlight LED Ceiling Fixtures
Wattage (W): Power Consumption and Heat
Historically, homeowners associated higher wattage with brighter light. With modern LED technology, wattage indicates only how much electrical power the fixture consumes, not how much light it emits. An LED pinlight can produce the same amount of light as an old incandescent bulb while using a fraction of the electricity, making traditional wattage-based comparisons obsolete.
Products mentioned in this guide
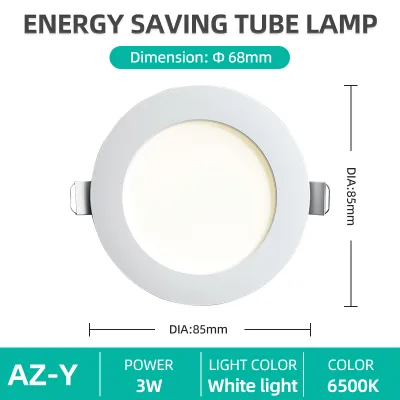
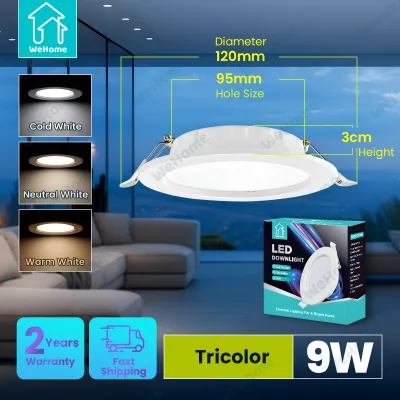
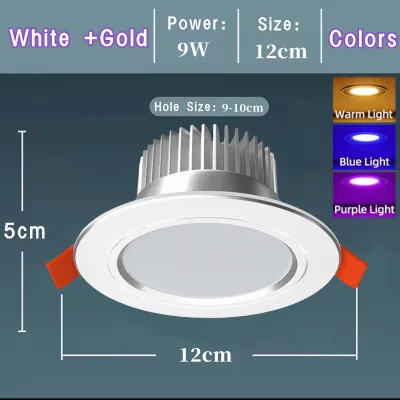
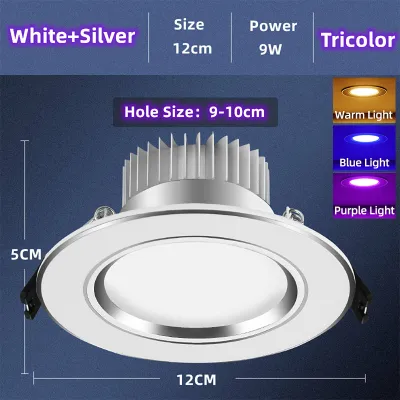
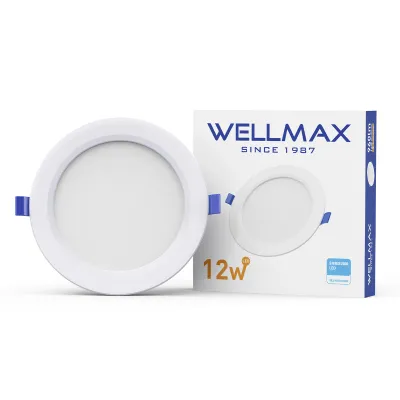
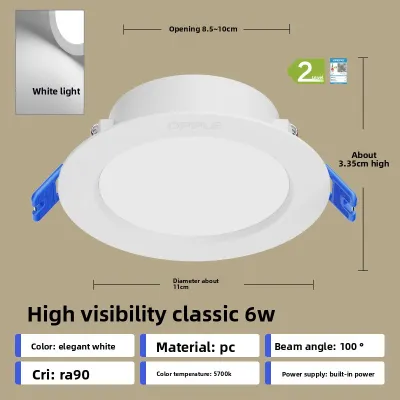
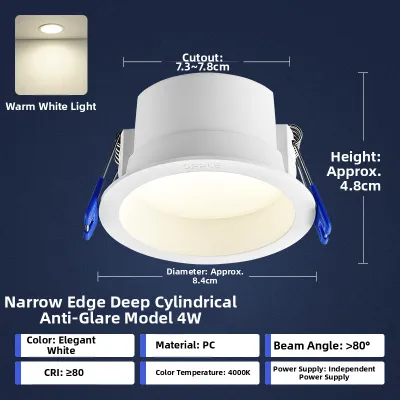
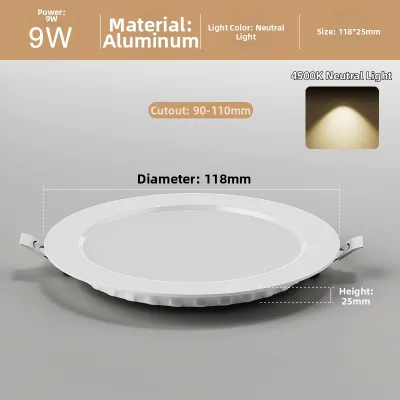
Prices are valid at publication and may change. Please refer to the product page for the latest price.
While energy savings are a major benefit, wattage remains a critical specification because of heat generation. Even highly efficient LEDs produce heat, which is concentrated at the back of the fixture in the heat sink and driver. In the hot and humid climate of the Philippines, ceiling cavities can trap significant heat, especially under concrete slabs or uninsulated roofs. Installing a high-wattage pinlight in an enclosed ceiling space without adequate ventilation can cause the LED chips or the internal driver to overheat, drastically shortening the lifespan of the fixture. Always check the manufacturer’s instructions regarding minimum clearance space around the fixture to allow proper heat dissipation.
Lumens (lm): The True Measure of Brightness
To determine how bright a pinlight led ceiling fixture will actually be, you must look at its lumen rating. Lumens measure the total amount of visible light emitted by a source. When comparing different brands or models, evaluating the luminous efficacy—expressed as lumens per watt (lm/W)—reveals how efficiently the fixture converts electricity into light. A higher lm/W ratio means more brightness for less power consumption.
Calculating the required lumens for your space depends on the room’s total floor area in square meters and its primary function. For general ambient lighting in a living room or bedroom, a baseline of roughly 100 to 150 lumens per square meter is often sufficient. For areas requiring focused task lighting, such as kitchens, home offices, or bathroom vanities, you may want to aim for 300 to 400 lumens per square meter.
When shopping, prioritize comparing the lumen output rather than the wattage. A well-engineered 9-watt pinlight from a reputable manufacturer may deliver the same or higher lumens as a poorly constructed 12-watt alternative. Focusing on lumens ensures you get the brightness you need without paying for wasted electrical power.
Cut-Out Size and Dimensions: Ensuring a Perfect Ceiling Fit
One of the most common mistakes during a home renovation is purchasing pinlights without verifying their physical dimensions. There is a crucial difference between the “cut-out size” and the “fixture diameter.” The cut-out size refers to the diameter of the actual hole that must be cut into your gypsum board, acoustic board, or plywood ceiling. The fixture diameter, or trim size, is the measurement of the outer visible rim that rests flat against the ceiling surface to cover the raw edges of the hole.

If you are replacing existing ceiling lights, measuring the existing cut-out hole is a mandatory step before buying new fixtures. Purchasing a pinlight with a cut-out requirement that is even slightly larger than your existing hole means you will have to manually widen every opening, which is a dusty and labor-intensive process. Conversely, if the new fixture’s cut-out size is too small, the pinlight may slip through the hole or leave unsightly gaps exposed.
Vertical depth clearance within the ceiling cavity is another critical dimension to verify. Recessed pinlights require sufficient vertical space to accommodate the height of the fixture’s heat sink, the external driver, and the connecting electrical wires. In homes with low concrete ceilings or shallow drop-ceiling frames, ultra-slim LED panel pinlights are often preferred because they require minimal depth clearance compared to deep-cone downlights.
Before inspecting existing ceiling cavities or attempting to measure the inside of a cut-out hole, always isolate the power by turning off the main circuit breaker. Working at heights requires a sturdy, stable ladder and proper safety precautions. If your new pinlights require cutting new holes, modifying structural ceiling joists, or running new electrical lines, always consult a qualified carpenter or a licensed electrician to ensure structural integrity and electrical safety.
Color Temperature (Kelvin): Setting the Right Ambience and Function
Color temperature, measured on the Kelvin (K) scale, determines the color appearance of the light emitted by your pinlight led ceiling fixture. This specification is not a measure of brightness, but rather a description of how warm or cool the light looks. Choosing the correct color temperature is essential for matching the functional demands of a room with the emotional atmosphere you want to create.
- Warm White (2700K to 3000K): This range produces a cozy, yellowish glow similar to traditional incandescent bulbs. It is highly recommended for bedrooms, living rooms, and dining areas where relaxation and comfort are the primary goals.
- Natural White or Cool White (4000K): Offering a clean, neutral white light without yellow or blue undertones, this range mimics natural midday light. It is ideal for kitchens, bathrooms, study areas, and home offices, where clear visibility and focus are required.
- Daylight (5000K to 6500K): This range emits a crisp, bluish-white light that provides high contrast and intense clarity. It is best suited for utility rooms, laundry areas, garages, or commercial spaces where detailed visual tasks are performed.
While these guidelines provide a functional starting point, your final decision should also account for personal preference, wall paint colors, and interior finishes. Warm white light can make wooden furniture and earth-toned walls look rich and inviting, whereas cool white or daylight can make white walls and modern minimalist decor look clean and spacious. Keep in mind that identical paint colors can look radically different under different Kelvin ratings, so testing a single fixture in your space before purchasing in bulk is a wise precaution.
Essential Secondary Specs: Beam Angle, CRI, and Electrical Safety
Beyond the primary specifications of brightness, size, and color, several secondary features play a vital role in the overall quality of your lighting design and the safety of your home.
- Beam Angle: The beam angle dictates how wide or narrow the light spreads from the fixture. A narrow beam angle (15 to 36 degrees) acts as a spotlight, concentrating light on a specific area to highlight artwork, architectural features, or kitchen countertops. A wide beam angle (60 to 120 degrees) distributes light broadly across the room, making it the ideal choice for general ambient lighting in living rooms and hallways.
- Color Rendering Index (CRI): CRI measures how accurately a light source reveals the true colors of objects compared to natural sunlight. It is rated on a scale up to 100. For residential spaces, look for pinlights with a CRI of 80 or above. High CRI is particularly important in dressing areas, bathrooms, and kitchens, where accurate color perception is necessary for grooming, cooking, and matching clothing.
- Voltage and Electrical Certification: In the Philippines, the standard electrical grid operates at 220V and 60Hz. Before purchasing any imported pinlight led ceiling fixtures online, verify that they are rated for 220V compatibility. Operating a 110V fixture on a 220V line will cause immediate, irreversible damage and poses a severe fire hazard. Look for local safety certifications, such as the Philippine Standard (PS) mark or Import Commodity Clearance (ICC) stickers, to ensure the fixtures have undergone rigorous safety testing.
Because pinlights require fixed electrical wiring, installing them involves working with live electrical components. Always turn off the power at the breaker panel before starting any installation or maintenance work. If you are installing fixtures in damp environments like bathrooms or outdoor eaves, ensure the pinlights are specifically rated for damp or wet locations (such as having an appropriate IP rating). For any complex wiring, multi-light configurations, or installations involving high ceilings, always hire a licensed professional electrician to guarantee compliance with the Philippine Electrical Code.
Frequently Asked Questions (FAQ)
Can I use a dimmable pinlight with any standard switch?
No, dimmable LED pinlights require compatible LED-rated dimmer switches to function correctly. If you connect a dimmable LED fixture to a traditional rotary dimmer designed for incandescent bulbs, you will likely experience flickering, buzzing, or a severely restricted dimming range. In some cases, incompatible switches can permanently damage the sensitive electronic driver inside the LED pinlight. Always verify the dimming specifications on the product packaging and consult the manufacturer’s guide for compatible dimmer models.
What happens if my ceiling cut-out is slightly larger than the new pinlight?
If the ceiling cut-out is larger than the required cut-out size of your new pinlight, the fixture may not secure properly, creating a risk of it falling or leaving an unsightly gap that exposes the ceiling cavity. To resolve this without patching the ceiling, check the outer diameter or trim width of the new fixture. If the trim is wide enough to overlap the existing hole by at least a few millimeters on all sides, the spring clips can still hold the fixture in place. If the hole is significantly larger, you will need to purchase a larger pinlight or use a specialized adapter ring to bridge the gap safely.
Is a higher wattage always better for a pinlight?
No, a higher wattage is not necessarily better and often indicates lower energy efficiency. A high-wattage pinlight will consume more electricity and generate more heat within your ceiling cavity, which can lead to premature component failure if ventilation is poor. Instead of looking at wattage, evaluate the lumen output and the luminous efficacy (lumens per watt). A well-designed, lower-wattage pinlight with high-quality LED chips and efficient optical lenses can deliver superior, focused brightness while keeping your energy consumption low.

Community discussion
Share your experience or ask a question. Comments are reviewed before publication.