
To keep a chicken coop illuminated during the extended rainy season in the Philippines, you cannot rely on standard outdoor lights that depend on daily, uninterrupted sunshine. The combination of heavy monsoon rains, persistent cloud cover, and high humidity presents a severe challenge to solar-powered systems. To ensure your flock has reliable lighting when natural daylight fades, you must select a system designed to store ample energy and capture weak, diffused sunlight. This requires understanding how to evaluate battery capacities, solar panel types, and physical configurations that can withstand a demanding agricultural environment.
Decoding Battery and Charging Claims for Extended Cloud Cover
When browsing online marketplaces for solar lights, you will often encounter bold claims of multi-day or even 45-day runtimes on a single charge. To make an informed decision, you must look past these marketing headlines and calculate the actual expected performance using basic electrical specifications. The two key metrics to analyze are battery capacity, typically measured in milliampere-hours (mAh) or watt-hours (Wh), and the power draw of the LED light source, measured in watts (W).
To determine how long a solar light can run without recharging, convert the battery capacity to watt-hours by multiplying the capacity (Ah) by the nominal voltage (V). For instance, a 3.2V battery rated at 5,000 mAh (5 Ah) provides 16 watt-hours of stored energy. Dividing this by the wattage of the LED light gives the theoretical runtime. If the light draws 2 watts, it can theoretically run for 8 hours. However, due to energy loss from heat and wiring resistance, factor in a 20 percent safety margin, reducing the real-world runtime to around 6.4 hours. If you require dusk-to-dawn lighting—which can last up to 12 hours during the rainy season—a small battery will quickly deplete after just one cloudy day.
Products mentioned in this guide
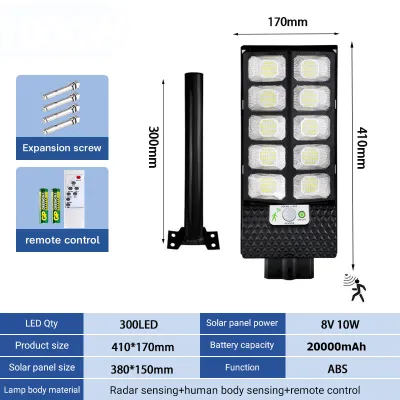
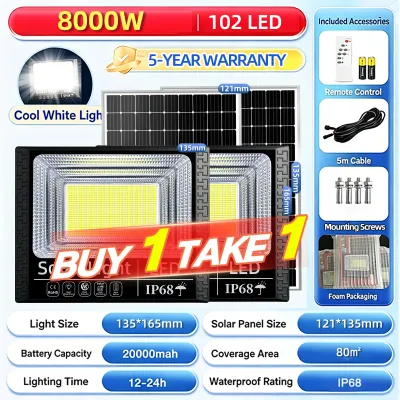
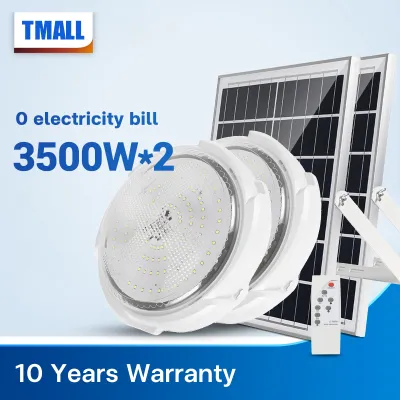
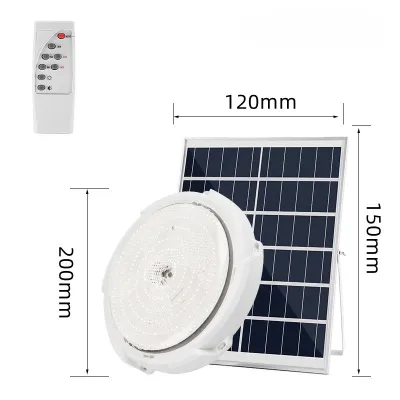
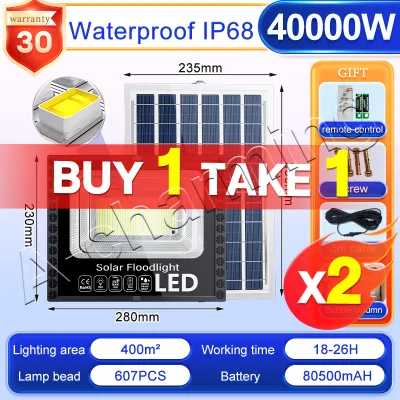
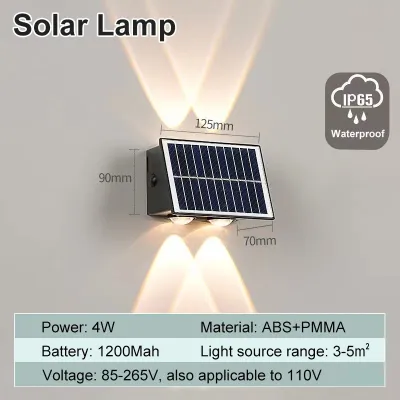
Prices are valid at publication and may change. Please refer to the product page for the latest price.
This discrepancy explains why manufacturers advertise extremely long runtimes, such as 45 days. These figures are not based on continuous, high-lumen output. Instead, they rely on motion-sensor modes or highly dimmed standby settings. In a motion-sensor configuration, the light remains off or at a bare minimum brightness of perhaps 5 percent until it detects movement, at which point it shines at full brightness for 30 seconds before dimming again. While this conservation method is excellent for security lights, it may not serve your specific poultry management goals if you need steady, continuous light to maintain egg production or complete evening chores.
The recharge rate depends entirely on the solar panel’s wattage and daylight quality. While panel ratings are determined under bright, direct sunlight, heavy cloud cover during the rainy season in the Philippines can reduce output to 10 to 25 percent of rated capacity. A 10-watt panel might only produce 1 to 2.5 watts on an overcast day. To prevent chronic undercharging and premature battery failure, the solar panel must be significantly oversized relative to the battery capacity. If your battery requires 16 watt-hours to fully charge, and your panel only produces 2 watts per hour under heavy clouds, you need 8 hours of daylight just to recover one night’s worth of energy.
Essential Hardware Specifications for Rainy Season Reliability
Operating a solar light in a chicken coop during the wet season requires hardware that can survive extreme moisture, dust, and corrosive gases. The first line of defense is the Ingress Protection (IP) rating. This standard rating consists of two digits: the first indicates protection against solid particles like dust and chicken dander, while the second indicates protection against liquids.

For outdoor components, such as the solar panel and any exposed wiring connectors, you should look for a minimum rating of IP65. An IP65 rating means the enclosure is completely dust-tight and protected against water jets from any direction. In areas prone to severe tropical storms and driving rain, upgrading to IP67 or IP68 provides an extra layer of security, as these ratings certify that the equipment can withstand temporary immersion in water. Using a light with a lower rating, such as IP44, risks water entering the housing, causing short circuits, corrosion, and permanent damage to the internal electronics.
Inside the housing, battery chemistry dictates the system’s lifespan. Lithium Iron Phosphate (LiFePO4) batteries are highly recommended over standard Lithium-ion (Li-ion) options for agricultural use. LiFePO4 batteries offer a significantly longer lifespan, often lasting 2,000 to 3,000 charge-discharge cycles compared to the 300 to 500 cycles of standard Li-ion. They are also highly resilient to deep discharges during prolonged rainy spells, maintaining their capacity far better when repeatedly drained. Furthermore, their chemical stability reduces the risk of thermal runaway or fire in dry, straw-filled coop environments.
The solar panel material also determines energy harvest under gray skies. Monocrystalline panels, made from single-crystal silicon, are more efficient (15 to 22 percent) than polycrystalline panels (13 to 16 percent). Crucially, monocrystalline panels perform much better under low-light and diffused light conditions, capturing a wider spectrum of light to generate more electricity on overcast days. While monocrystalline systems carry a slightly higher initial cost, their ability to keep the battery charged during a week of continuous rain makes them the only practical choice for reliable coop lighting.
Before purchasing any system, always verify the electrical specifications, including the voltage, base or interface type, wattage limits, physical dimensions, dimming methods, and electrical certifications (such as CE, RoHS, or local quality marks). Ensuring these specifications match your installation environment is critical for both safety and performance. While decorative style, perceived color temperature (such as warm yellow versus cool white), and spatial effects are conditional preferences rather than universal performance facts, selecting a light with a clear, functional output is essential for practical coop management.
Strategic Placement to Maximize Low-Light Charging
Even high-quality solar lights will fail if the panel is poorly positioned. In the Philippines, solar panels should face south at a tilt angle of 10 to 15 degrees to maximize year-round sunlight capture and allow rainwater to wash away dust. You must avoid shadows from coconut fronds, banana leaves, or nearby structures. Even a partial shadow covering a small fraction of the panel can cause a disproportionate drop in power output, as shaded cells restrict the flow of electricity generated by the unshaded areas.
Because the interior of a chicken coop is naturally dark and shaded, integrated solar lights—where the panel is built directly onto the light fixture—are entirely unsuitable. Instead, you must use a split-unit design. This configuration features a separate solar panel that you mount outdoors on the roof or a nearby pole, connected to the indoor light fixture via a heavy-duty, weather-resistant extension cable. This setup allows you to place the panel in the absolute best position for sunlight exposure while keeping the light fixture safely inside the coop where it is needed.
When routing the cable from the outdoor panel to the indoor fixture, safety must be your top priority. Chickens are naturally curious and will peck at any loose or dangling wires, which can damage the system or pose an electrical hazard. All exposed wiring inside the coop should be run through rigid PVC conduits or split-loom tubing secured tightly to the walls or rafters. Ensure that all entry points into the coop are sealed with silicone caulk to prevent rainwater from trickling down the cable and entering the building.
Additionally, you must observe the manufacturer’s clearance guidelines regarding heat and moisture. While LED lights generate far less heat than traditional incandescent bulbs, they still require adequate ventilation to prevent heat buildup, which can shorten the lifespan of the LEDs and the internal driver. Mount the light fixture high enough to be completely out of reach of the birds, ensuring it is securely fastened to a structural beam to prevent it from falling due to vibrations or wind.
For any installation involving fixed wiring, damp areas, work at height, heat sources, or suspended loads, always prioritize safety. Ensure complete power isolation before handling any electrical connections. Follow the manufacturer’s installation instructions precisely, and if the setup requires complex structural mounting or integration with your home’s main electrical grid, always consult a qualified professional to perform the work.
Maintenance and Safety Checks During Prolonged Wet Weather
To keep your solar lighting system operating at peak efficiency throughout the wet season, you must establish a regular maintenance routine. The most critical task is keeping the solar panel clean. In agricultural environments, panels quickly accumulate a layer of dust, pollen, bird droppings, and mud splatters from heavy rains. This debris acts as a physical barrier, blocking sunlight and reducing the panel’s power output.
Clean the solar panel at least once every two weeks, or more frequently during heavy dust periods. Use a soft microfiber cloth or a gentle sponge with clean water to wipe away dirt. Never use abrasive scrubbing pads, steel wool, or harsh chemical detergents, as these can scratch the tempered glass or degrade the anti-reflective protective coating. Scratches permanently scatter incoming light, reducing the panel’s long-term efficiency. It is best to clean the panel early in the morning or late in the afternoon when the glass is cool to avoid thermal shock.
Perform a monthly visual inspection of the entire system. Check the outdoor mount to ensure high winds have not loosened brackets or shifted the tilt angle, and inspect cable connections for moisture ingress or corrosion. If you notice green or white powdery deposits on the connectors, clean them with electrical contact cleaner and apply dielectric grease. Inside the coop, check the light fixture for dust or cobwebs, verify that protective conduits remain secure, and inspect the battery housing for swelling, cracking, or leaking, which are critical warning signs that require turning off the system immediately.
While basic cleaning, mounting adjustments, and visual inspections are safe DIY tasks, you must recognize the boundaries of safe troubleshooting. If you encounter complex electrical issues, such as damaged internal wiring, a failing charge controller, or if you need to replace a sealed lithium battery, stop and consult the manufacturer or a qualified electrician. Attempting to repair high-capacity lithium batteries or modify electrical circuits without proper training can lead to severe injury, electrical shock, or property damage.
Frequently Asked Questions (FAQ)
Do chickens need continuous light or motion-activated light at night?
Chickens require a consistent period of darkness to maintain their natural biological rhythms and overall health. Providing continuous, bright light throughout the night disrupts their sleep cycles, which can lead to chronic stress, aggressive behavior like feather pecking, and a weakened immune system. For healthy egg production, hens generally need about 14 to 16 hours of light per day, followed by at least 8 hours of complete darkness.
If your goal is to supplement daylight during the shorter days of the rainy season, you should program the light to turn on for a few hours in the early morning before sunrise, rather than keeping it on all night. For security purposes, a motion-activated sensor or a very dim standby mode is highly beneficial. This approach ensures the coop remains dark and restful for the flock, while still providing immediate illumination if a predator approaches or if you need to enter the coop after dark. Furthermore, utilizing a motion-sensor mode drastically reduces the daily energy draw, allowing the battery to last much longer during consecutive cloudy days.
Can I use a standard garden solar light inside a chicken coop?
Repurposing a standard garden pathway light for use inside a chicken coop is generally not recommended due to several physical and environmental limitations. Standard garden lights are designed for mild residential landscaping and lack the durability required to survive in an active agricultural setting. Chicken coops are highly demanding environments characterized by high humidity, fine dust, and corrosive ammonia vapors generated by chicken droppings.
Most standard garden lights have low IP ratings, such as IP44, which do not offer sufficient protection against fine dust or corrosive moisture, leading to rapid component failure. Additionally, their plastic housings can easily be damaged by pecking or scratching from curious birds. Most importantly, because standard garden lights feature integrated solar panels on top of the fixture, they cannot be charged if the light is placed inside a covered coop. To achieve reliable performance, you must use a split-unit utility or security light with a separate, high-IP-rated monocrystalline solar panel mounted outdoors and a robust, corrosion-resistant light fixture installed safely inside.

Community discussion
Share your experience or ask a question. Comments are reviewed before publication.