
Replacing an outdoor lamp cover is a straightforward home maintenance task that restores both the beauty and the weather protection of your exterior lighting. To do this safely, you must isolate the electrical power, carefully remove the old cover, clean the fixture base to ensure a tight seal, and secure the new, compatible cover without over-tightening. In tropical climates like the Philippines, where heavy rains, high humidity, and intense heat are common, maintaining a proper seal on your outdoor fixtures is essential to prevent moisture from causing short circuits or damaging your bulbs.
Preparation and Safety Precautions
Before handling any electrical fixture, safety must be your absolute priority. Begin by switching off the power to the outdoor light circuit at your home’s main breaker panel. Simply turning off the wall switch is not sufficient, as some wiring configurations can still carry live current to the fixture. Use a reliable non-contact voltage tester around the fixture base to verify that the electrical lines are completely dead before you touch any internal components.
Next, gather the necessary tools and safety gear. You will typically need a flathead or Phillips screwdriver, safety gloves to protect your hands from sharp edges or broken glass, and protective eyewear to shield your eyes from falling debris. If the fixture is mounted high on an exterior wall or ceiling, ensure you use a stable, slip-resistant ladder placed on flat, solid ground. Avoid working on wet grass or damp concrete to minimize the risk of slipping or falling while working at height.
Products mentioned in this guide
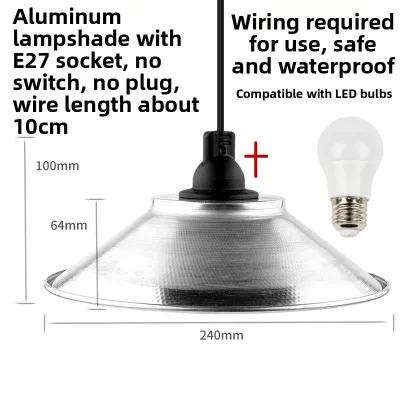
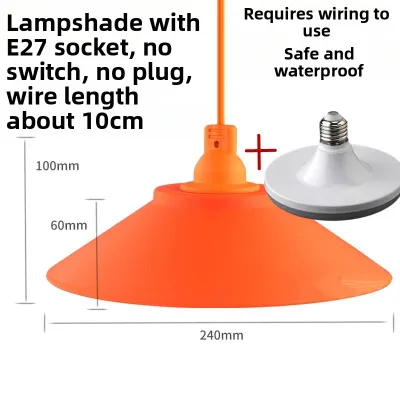
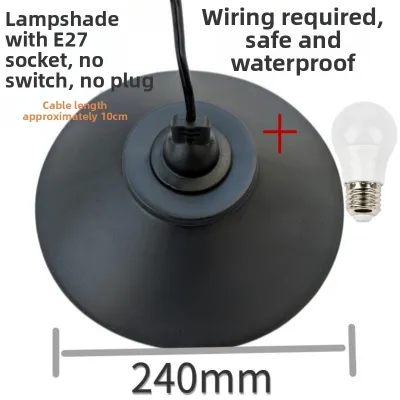
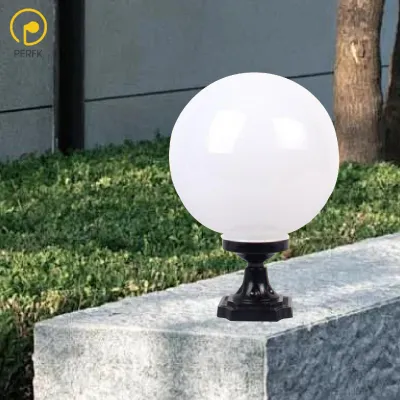
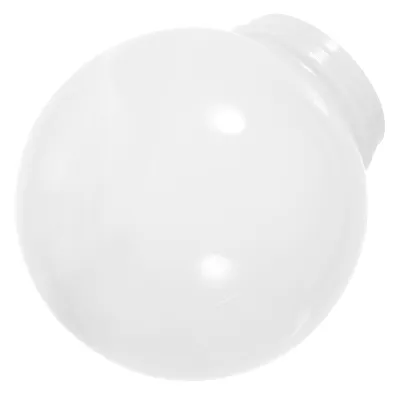
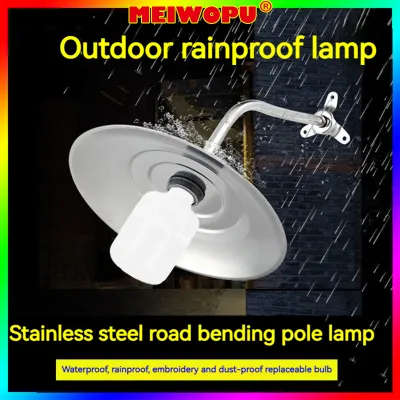
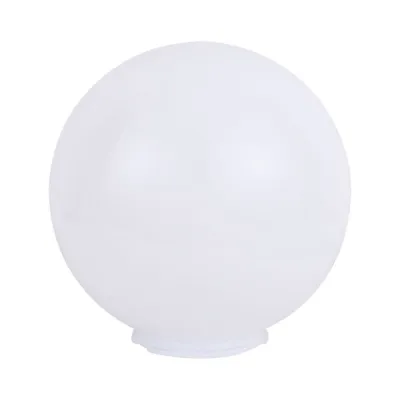
Prices are valid at publication and may change. Please refer to the product page for the latest price.
Finally, inspect your new outdoor lamp cover to confirm it is fully compatible with your existing fixture. Check that the dimensions, mounting hole alignments, and base interface match perfectly. Verify that the replacement cover is rated for the fixture’s specific voltage, wattage limit, and dimming method to prevent electrical or heat-related damage. It is also crucial to ensure the new cover is designed for your specific installation environment—such as a damp or wet location—and carries the appropriate electrical certification marks. While a basic replacement cover might only cost a few hundred pesos (₱), choosing high-quality, weather-resistant materials will save you money on future replacements.
Removing the Old Outdoor Lamp Cover
To remove the old cover without damaging the fixture base or the surrounding wall, you must first identify how it is secured. Outdoor fixtures generally use one of a few common fastening mechanisms. These include thumbscrews along the collar, decorative finials at the bottom, spring-loaded clips, or small set screws hidden near the mounting plate. Take a moment to inspect the fixture closely to determine which tool is required.

In humid environments, metal screws and fasteners are highly susceptible to rust and corrosion. If you find that the screws are stuck or difficult to turn, do not force them, as this can easily strip the screw heads or snap the mounting brackets. Instead, apply a small amount of penetrating oil directly to the rusted hardware. Let the oil sit for several minutes to loosen the corrosion before attempting to turn the screws again with steady, even pressure.
As you loosen the final fasteners, always support the lamp cover firmly with your non-dominant hand. Glass and older plastic covers can be surprisingly heavy and may slip out of the fixture unexpectedly once the tension is released. Carefully lower the cover away from the base and place it in a secure area where it will not fall, shatter, or cause injury. If the cover is already cracked or broken, wear heavy-duty gloves and remove the pieces slowly to avoid cutting yourself or damaging the internal wiring.
Cleaning and Inspecting the Fixture Base
With the cover removed, you will likely find an accumulation of dirt, dust, and outdoor debris. In tropical regions, it is common to find insect nests, spiderwebs, or gecko droppings inside the fixture housing. Use a dry microfiber cloth or a soft-bristled brush to gently sweep away this debris from the fixture rim, the bulb socket, and the gasket seating area. Avoid using wet cloths or liquid cleaners directly on the electrical components.
Next, closely inspect the rubber or silicone weather gasket that sits between the cover and the fixture base. This gasket is your primary defense against moisture intrusion. Check the gasket for signs of wear, such as cracking, brittleness, flattening, or missing sections. If the gasket is damaged, it must be replaced to maintain a proper weatherproof seal; reusing a degraded gasket will allow rainwater to seep inside, leading to premature bulb failure or electrical shorts.
Take this opportunity to inspect the bulb socket and the visible internal wiring. Look for signs of moisture intrusion, green copper corrosion on the metal contacts, or heat damage such as melted insulation or discoloration. If you notice any of these warning signs, the fixture may have a deeper electrical issue that needs to be addressed before you install the new cover.
Installing the New Outdoor Lamp Cover
To begin the installation, position the new or thoroughly cleaned weather gasket onto the fixture base. Ensure it sits flat and flush within its designated groove without any twists or pinches. Carefully align the new outdoor lamp cover with the mounting holes or collar of the fixture base. Keeping the cover perfectly centered is essential to ensure that the gasket compresses evenly all the way around the perimeter, creating an airtight and watertight seal.
While holding the cover securely in place, begin threading the fasteners by hand. Hand-threading helps prevent cross-threading, which can ruin the delicate threads on the fixture base. If the cover is secured by multiple screws, tighten them gradually in a crisscross pattern rather than tightening one completely before moving to the next. This distributed pressure prevents uneven stress on the cover material.
Be extremely careful not to over-tighten the fasteners. Over-tightening is a common mistake that can easily crack glass covers or strip the threads on plastic and aluminum fixtures. Tighten the screws just until they are snug and the gasket is visibly compressed. Once the cover is secure, restore power at the main circuit breaker and turn on the light switch to confirm proper operation. Finally, perform a close visual inspection around the edges of the cover to ensure there are no visible gaps where water could enter.
Troubleshooting and When to Call a Professional
Even with careful preparation, you may encounter issues during the replacement process. If you run into stripped screws, broken decorative finials, or mismatched mounting holes that prevent the new cover from seating securely, do not attempt to force the installation. Using mismatched parts or leaving a cover loose compromises the fixture’s weather resistance and can lead to water damage during heavy rains.
Another common issue is the appearance of persistent moisture or condensation inside the cover shortly after installation. This usually indicates a failed seal, a misaligned gasket, or a small gap in the mounting plate where humid air is entering and condensing against the cool glass. If you notice condensation, turn off the power, remove the cover, inspect the gasket alignment, and ensure all fasteners are tightened evenly.
There are certain situations where you must stop work immediately and consult a licensed electrician. If you discover frayed or exposed wiring, a cracked or corroded bulb socket, or if the fixture lacks a proper ground wire, do not attempt to fix these issues yourself. Working with fixed electrical wiring, especially in damp outdoor environments or at significant heights, carries serious safety risks that require professional expertise and specialized tools to resolve safely.
Frequently Asked Questions (FAQ)
Can I use an indoor lamp cover for an outdoor fixture?
No, you should never use an indoor lamp cover on an outdoor light fixture. Indoor covers lack the necessary UV stabilizers to withstand prolonged sun exposure, causing plastic covers to become yellow and brittle, and glass covers to degrade. More importantly, indoor covers are not designed to accommodate weatherproof gaskets or seals. Without these seals, rainwater and high humidity will easily penetrate the fixture, creating a severe risk of electrical short circuits, corrosion, and potential fire hazards. Always verify that the replacement cover is explicitly rated for outdoor use and check for an appropriate Ingress Protection (IP) rating or outdoor safety certification on the packaging.
How do I prevent the new cover's screws from rusting?
To prevent the mounting screws from rusting and seizing in the future, consider replacing any corroded steel hardware with high-quality stainless steel or solid brass screws. These materials offer superior resistance to moisture and humid tropical air. During installation, apply a very small amount of dielectric grease or clear silicone grease to the threads of the screws before inserting them. This grease acts as a protective barrier that blocks moisture and oxygen, preventing galvanic corrosion between different metals and ensuring that the screws can be easily removed the next time you need to change a bulb or clean the fixture.

Community discussion
Share your experience or ask a question. Comments are reviewed before publication.