
Choosing the right LED strip for a gaming room involves looking past flashy marketing and focusing on technical specifications like diode density, color technology, smart ecosystem compatibility, and power safety. Selecting the wrong product can lead to harsh screen glare, visible hot spots, or even electrical hazards. In tropical climates like the Philippines, where high ambient humidity and heat can degrade adhesives and stress electrical components, understanding these technical details is essential for building a reliable, visually comfortable setup.
By prioritizing the correct specifications, you can create an immersive environment that reduces eye strain during long gaming sessions. This guide breaks down the essential metrics to verify before purchasing, helping you choose a system that integrates seamlessly with your existing hardware and room layout.
Decoding LED Density and Brightness for Ambient Lighting
LED density, measured in diodes per meter, directly determines the quality of your ambient glow. Low-density strips, which typically feature fewer diodes per meter, create a harsh “dotting effect” where individual points of light are highly visible. This uneven light can reflect off glossy monitor screens or polished desk surfaces, causing distracting glare. High-density strips, or Chip on Board (COB) alternatives, place the light sources close together to produce a continuous, seamless line of light even without a physical diffuser.
Products mentioned in this guide
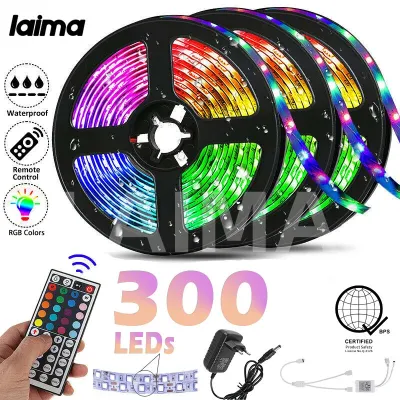
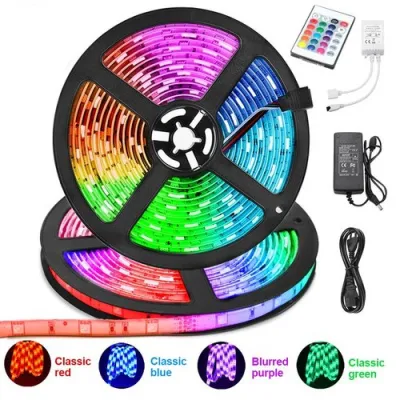
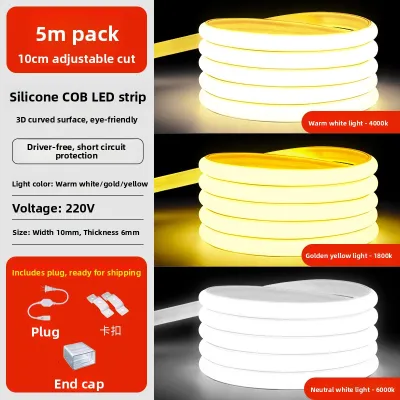
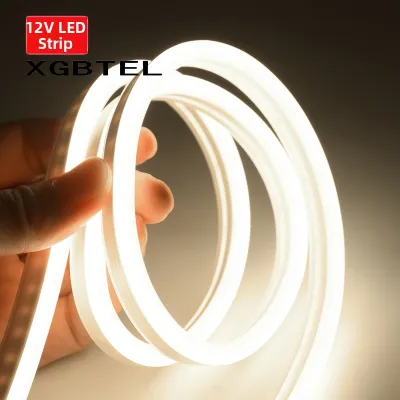
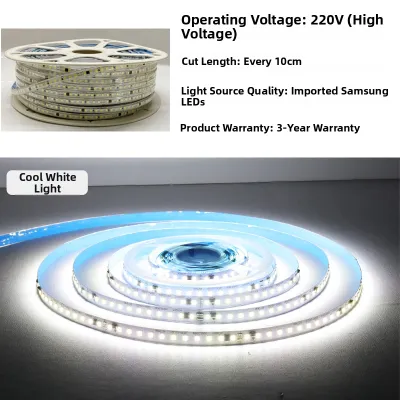
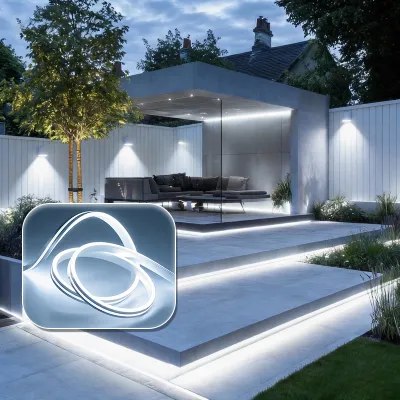
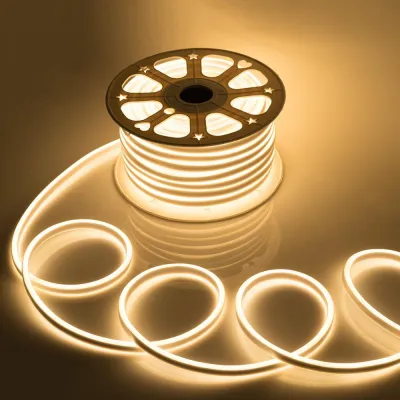

Prices are valid at publication and may change. Please refer to the product page for the latest price.
Matching the brightness of your strip to its specific installation zone is crucial for maintaining visual comfort. For bias lighting placed directly behind a monitor, high brightness is actually counterproductive, as it can wash out screen contrast and cause eye fatigue. In contrast, ceiling coves or under-desk runs require higher lumen output to project light effectively across larger surfaces. Look for strips with dimming capabilities so you can adjust the intensity based on the time of day and your room’s ambient light levels.
If your gaming room also serves as a streaming studio or workspace, pay close attention to the Color Rendering Index (CRI) listed on the product label. A low CRI can make colors look dull and cause skin tones to appear washed out or greenish on webcams. For setups where the LED strip doubles as a fill light for video, prioritizing a CRI of 90 or higher ensures natural color reproduction on camera.
Choosing the Right Color Technology: RGB vs. RGBW vs. ARGB
Color technology defines how your lights behave and how much control you have over individual sections of the strip. Standard RGB strips are the most common and budget-friendly option. They use a three-in-one diode to mix red, green, and blue light, meaning the entire strip displays one uniform color at a time. This technology is highly suitable for simple, static bias lighting behind a desk where a single solid color is preferred to ease eye strain.

For rooms that serve multiple purposes, RGBW strips offer a significant upgrade by adding a dedicated white diode to the mix. Standard RGB strips create white light by turning on all three primary colors simultaneously, which often results in a cold, bluish-purple tint. An RGBW strip provides a clean, natural warm or cool white light, making it a practical choice if your gaming space doubles as a home office or bedroom where standard task lighting is required.
Addressable RGB (ARGB) strips offer the highest level of customization for dynamic gaming setups. Each diode on an ARGB strip contains a tiny microchip, allowing individual LEDs to display different colors at the same time. This enables complex visual effects such as color chasing, gradients, and reactive lighting that syncs with in-game audio. However, ARGB requires compatible hardware, such as a 3-pin 5V addressable header on your PC motherboard or a dedicated external controller. Connecting a 5V ARGB strip to a standard 12V RGB header will permanently damage the LEDs, so always verify the physical interface and voltage limits before installation.
Evaluating Smart Controls and Ecosystem Compatibility
How you control your lighting system impacts your daily user experience. Basic LED strips often rely on simple infrared (IR) remotes, which require a direct line of sight to the receiver, or Bluetooth connections that only work within a short range. Wi-Fi-enabled smart strips connect directly to your home network, allowing you to adjust settings via mobile apps, set automated schedules, and use voice commands through smart home assistants.
If you want your lighting to react dynamically to your gameplay, you must match the strip’s hardware capabilities to your gaming platform. PC gamers can utilize software-based syncing, where desktop applications capture screen pixels and translate them to the LED strip via a USB connection. For console gaming on a television, software syncing is generally not supported, requiring you to invest in an external HDMI sync box that intercepts the video signal from your console to coordinate the lights.
Before purchasing, verify that the smart strip supports your preferred ecosystem protocols, such as Matter, Apple Home, or specific PC gaming software suites like Razer Synapse. This verification ensures that your new lights can be grouped with your existing smart devices, allowing you to control your entire room’s lighting with a single command or hotkey.
Power Requirements, Voltage, and Safe Installation
Operating LED strips safely requires a basic understanding of voltage and power distribution. LED strips generally run on either 12V or 24V direct current. For short installations under 5 meters, a 12V system is perfectly adequate. For longer continuous runs, 24V systems are highly recommended because they are less susceptible to voltage drop—a phenomenon where electrical resistance causes the light to dim or shift color toward the end of the run.
To prevent electrical hazards and ensure stable performance, you must calculate the required capacity of your power supply unit (PSU). Multiply the strip’s rated wattage per meter by the total length of your installation, then add a 20% safety buffer to prevent the power supply from running at maximum capacity. For example, if a strip consumes 10 watts per meter and you plan to install a 5-meter run, the total draw is 50 watts; adding the safety buffer means you should select a power supply rated for at least 60 watts. Always check for recognized electrical safety certifications on the power adapter to ensure it has built-in overcurrent and short-circuit protection.
Proper heat dissipation is critical for maintaining the lifespan of the diodes, especially in warm, humid environments. LEDs generate heat during operation, and trapping this heat behind heavy, unventilated furniture or inside tight spaces can cause the adhesive backing to fail and the diodes to degrade prematurely. Mounting your strips inside aluminum channels helps draw heat away from the circuit board. For any installations involving fixed wiring, integration into home electrical panels, or mounting in damp areas, always isolate the power source before starting, follow the manufacturer’s detailed instructions, and consult a qualified professional to ensure a safe setup.
Frequently Asked Questions (FAQ)
Do I need an aluminum diffuser channel for my gaming LED strips?
An aluminum diffuser channel is highly recommended if the LED strip is installed in a location where the diodes are directly visible or reflect off glossy surfaces. The milky cover of the channel blends the individual light points into a smooth, continuous bar of light while protecting the delicate circuitry from dust and physical contact. However, if you are using high-density COB strips, the diodes are already close enough to form a seamless line without a diffuser. Keep in mind that thick, milky diffusers slightly reduce the overall brightness output, which is a trade-off to consider when planning your room’s total light levels.
How do I safely route LED strip cables behind my gaming desk?
To keep your setup organized and prevent physical damage to the wiring, route your cables through under-desk cable trays, adhesive raceways, or braided sleeves. When routing the LED strip around corners, avoid bending the flexible circuit board at sharp 90-degree angles, as this can crack the internal copper traces and cause sections of the strip to stop working. Instead, use dedicated corner connectors or loop the strip gently to maintain a safe bend radius. Finally, leave a small service loop of slack near the power controller to prevent tension on the ports when adjusting standing desks or moving furniture.

Community discussion
Share your experience or ask a question. Comments are reviewed before publication.